Saturday, 20 April 2013

Ikea Lival Worklamp

I have a Ikea Lival Desklamp that has been with me for the longest time. It is not often that Ikea produces items which has lasted for so long.

There are several versions of this Lival desklamp. There is one version where the lamp is clamped to the table. I have the one with the heavy base. I like the design as it reminds me of a combination between an Anglepoise lamp and an Artemide Tolomeo 

Recently, I had to change the bulb and I decide to document the process so that I would not forget.


That is the tube which I have to change.


Its not exactly an Anglepoise as it is held together with wing-nuts.
Nor is it an Artemide.


The mentioned wing-nut.


I worry about the neck as it is quite thin and it is made from plastic.


Another view of the neck.


The bulb that needs to be changed.


The base cover needs to be removed by 3 screws.


Removal is easy enough.


The base without the cover. The lighting tube is 
pulled out gently.


The housing without the lighting tube.


The original lighting tube, Osram and its made in Italy.


The length.


The replacement lighting tube.


The old with the new.


Length is almost similar.


Putting in the socket.


Putting it back to the housing and screw back
the back cover.


 Reverse back the steps. Screw back the cover.


Finished. The tube is slightly longer than the original.


But you cant see the tube sticking out. So it is ok.
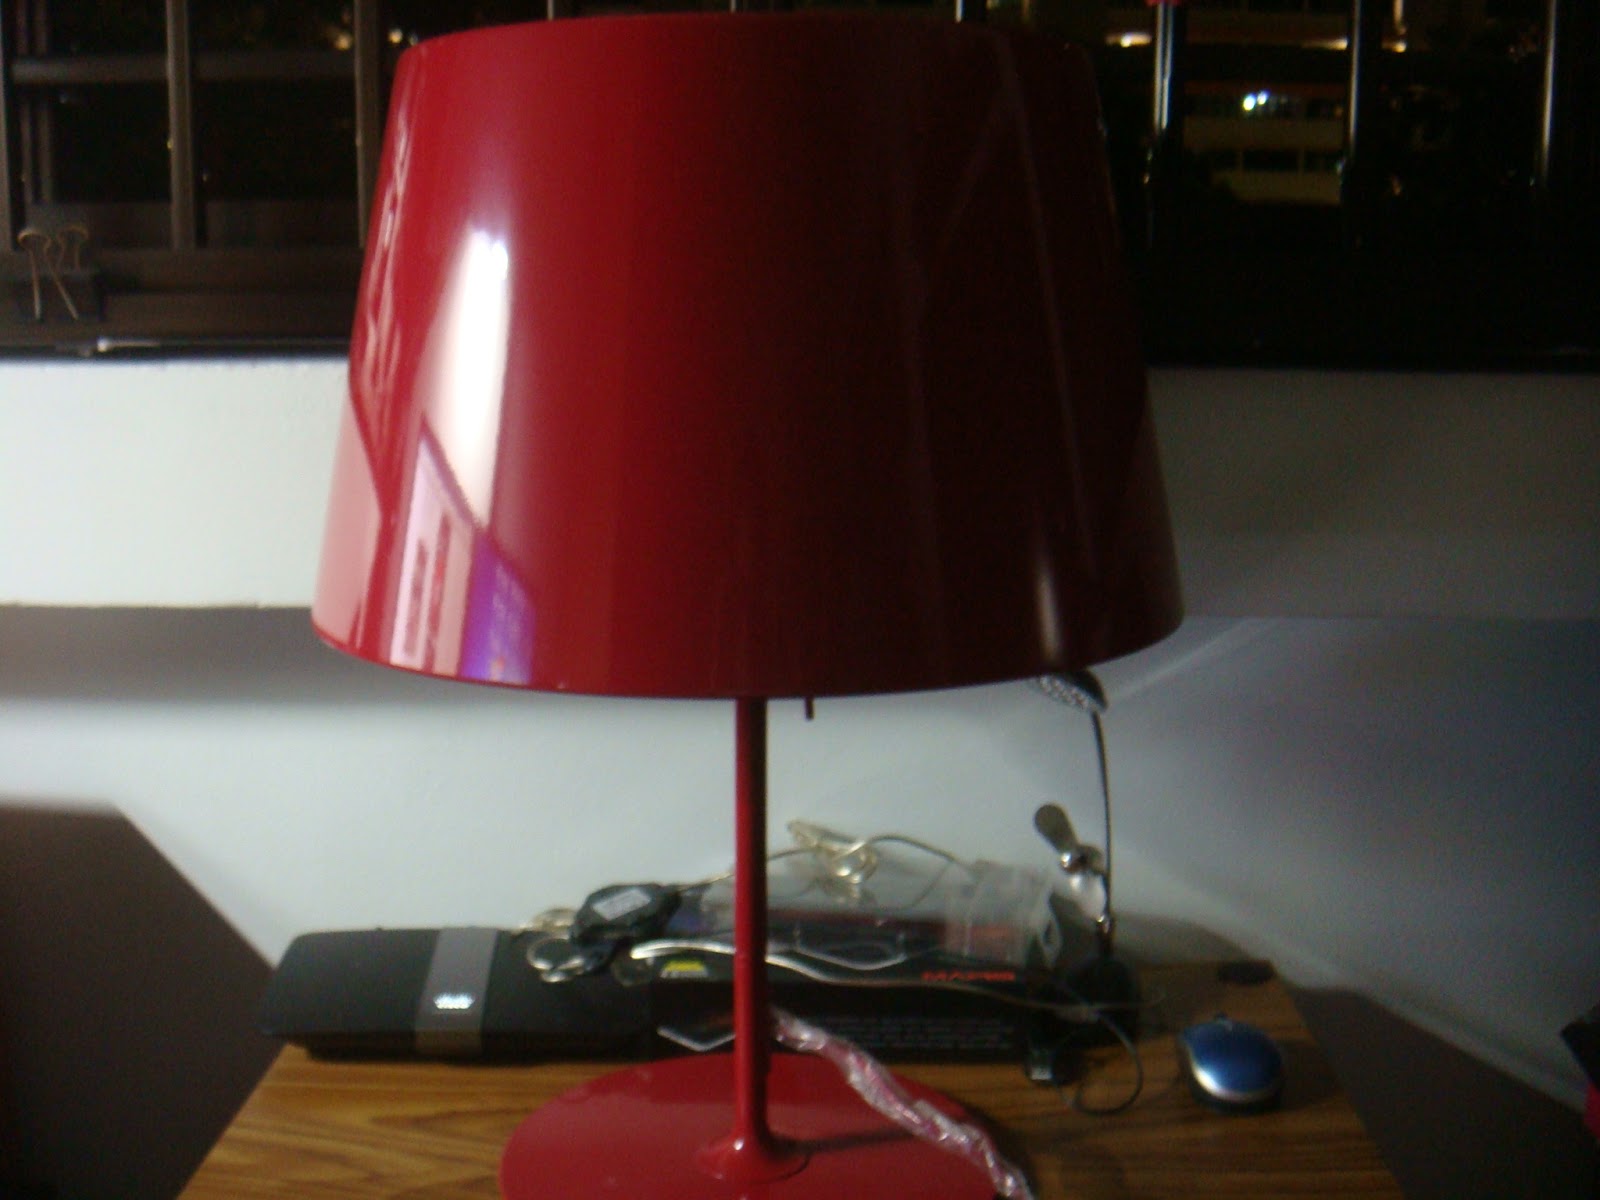

I believe the Lival lamp has been discontinued as I cannot find it on any of Ikea's website. It is quite a pity because it is one Ikea's products that is quite resilient. I think Ikea has a couple of iconic in-house designed pieces, like its Klippan sofa. Ikea should put a section on its catalogue and website, to highlight these iconic pieces. To keep it fresh, they can change the colour, materials can be rotated but the the basic design is still there, such that people can recognise that its a Klippan sofa or Billy bookcase, for example. They should keep this Lival lamp as one of those pieces, but they have to tweak its design. Move it away from the Anglepoise influence and re-introduce it again.

Going through the work lamp section on Ikea, I noticed that it has moved away from this fluorescent tube to a white/yellow bulb. There must be a reason for that. 

In the meantime, I am glad to have this lamp.


I had an enquiry with regards to the voltage of the plug for this lamp. The photo is as follows:


Voltage details for the lamp


Tuesday, 9 April 2013

Asus Ultrabook Laptop S400CA

The Wife is going to be based in Jakarta for 3 months for work. She needs a decent laptop for her non-work related stuff. She had a Acer Aspire 5584 WXMI. Its harddisk gave up and gave the click of death. Which means we have to look for a replacement laptop.

Her requirements are quite straightforward:

1) she likes the new touchscreen feature of Windows 8. 
2) has to have MS Office. This has to bought separately.
3) internet connectivity.
4) screen size of 14" or less
5) not to heavy

It was up to me to look for such a laptop, based on her requirements. I scouted at the recent March IT Show 2013, read numerous reviews, asked around shops and friends. Finally, we decided on the Asus S400CA CA041P Ultrabook, which meets her needs.

According to Asus website, the specs are as follows:

Specifications

ProcessorIntel® Core™ i7 3517U Processor
Operating SystemWindows 8
ChipsetIntel® Chief River Chipset HM76
MemoryDDR3 1600 MHz SDRAM, OnBoard Memory 4 GB , 1x DIMM socket *1
Display14.0" 16:9 HD (1366x768) LED Backlight Glare panel
GraphicIntegrated Intel® HD Graphics 4000 *2
Storage2.5" SATA
500GB 5400 RPM
Card Readercard reader ( SD )
CameraHD Web Camera
NetworkingIntegrated 802.11 b/g/n
Built-in Bluetooth™ V4.0
10/100/1000 Base T
Interface1 x COMBO audio jack
1 x VGA port/Mini D-sub 15-pin for external monitor
1 x USB 3.0 port(s)
2 x USB 2.0 port(s)
1 x RJ45 LAN Jack for LAN insert
1 x HDMI
AudioBuilt-in Speakers And Microphone
Battery44 Whrs Polymer Battery
Power AdapterOutput :
19 V DC, 3.42 A, 65 W
Input :
100 -240 V AC, 50/60 Hz universal
Dimensions33.9 x 23.9 x 2.1 cm (WxDxH)
Weight1.8 kg (with Polymer Battery)
Warranty2-years international warranty
1-year battery pack warranty
On-line problem resolution through web interface (BIOS, Driver update)
OS (Windows® 8 ) install/uninstall consultation
Bundled software install/uninstall consultation
ASUS software supporting
Note*1:OnBoard Memory 4GB+ 1x DIMM socket up to 12G
*2:Integrated Intel® HD Graphics 4000 (i5-3317/i7-3517)


The place that we bought this laptop, Harvey Norman, upgraded the memory to 8GB and gave a portable harddisk drive of another 500GB. It uses a solid state drive and that is why it boots up very fast.

The unboxing photos:


The laptop.


The manual.


The paraphernalia. 


Dust cover removed.


The keyboard.


First start-up.


According to one of the marketing sticker, the Ultrabook is inspired by Intel.
Apparently, there are certain specs that has to be met by Intel before
a laptop can be an Ultrabook. Intel has a website for this here.
To me, its an excuse to copy Apple Macbook Air.


The Windows 8 desktop needs getting used to. The touchscreen
feature is very cool.


The sleek clean lines on the left hand side and...


..the right. Again, I smell Apple here.


It even tries to taper off. Another Apple rip-off is the laptop does
not have any DVD drive. So we bought one from Samsung which 
was quite affordable.


Despite the similarities with Apple Macbook, I have to say that the Asus laptop is quite good. I like the keyboard and I can see myself typing documents on it.

The booting up is quite fast. It is light. Has credible sound coming from a laptop. 

It was a good buy.

Most importantly, The Wife loves it.

Sunday, 24 March 2013

Ikea Kulla Lamp: Dismantled.

I have 2 Kulla lamp that The Wife and I bought from Ikea. There are several versions of this lamp. There is the floor, table and ceiling lamp. I have the floor lamp, which is black and table lamp which is red.

Its unique feature is its metallic lampshade and dimmer-touch-sensor. The touch sensor gives out 3 levels of illumination. The lamp has a very solid design to it, with its clean lines. It is heavy and the easily cleaned.  There are quite a number of fans of this lamp if one was to search on the internet. 

However, as with all Ikea products, there is a downside. The touch sensor is unreliable. It will only last less than a year, after which it will not turn on the lamp. This has happened to me twice. The 1st one was the black floor lamp and just last week, my red table lamp. I cannot return it as it was already discontinued and it was already a year. There is no way I am going to throw the lamp as there is nothing wrong with it physically, just that damn sensor. 

I am going to salvage the lamp. I am going to replace that damn sensor. I am not an electrician but I am definitely going to try.

Here is my guide of dismantling the Kulla lamp.


This is my red Kulla table lamp. 


Inside it. The lampshade has to be removed. Please do not forget
to switch off and unplug the lamp if you are trying this.


Excuse the dust.


Another view. That small red stick on the left is the damn 
touch sensor.


The trick to dismantling the Kulla lamp is the bulb socket. Ikea uses
2 types of bulb socket. The one on the left is from my Kulla table 
lamp. There are 2-halfs which needs to be unscrewed. Use a cloth
and strong pliers and unscrew it from the bottom half. I did not use any 
cloth so the socket was badly chipped, as seen in the picture above.


Unscrew the cable compartment. 


Next pull up the black socket back-plate and disconnect the wires. Again
there are 2 versions. I prefer this one as the wires are screwed on to the
backplate. The other version, the wires are clipped to the bulb socket. Take
note of the wire orientation.


Pull out the plastic 


The wires are now exposed. The bottom half of the bulb socket can 
be unscrewed.


From this picture, you can see the bulb socket is removed. You can
also see a hexagon nut at the bottom of the bell shape socket holder. That 
needs to be unscrewed.


Hexagon nut removed.


Bell shaped socket holder removed. Which means.....


 ...the the cable compartment cover can be removed.


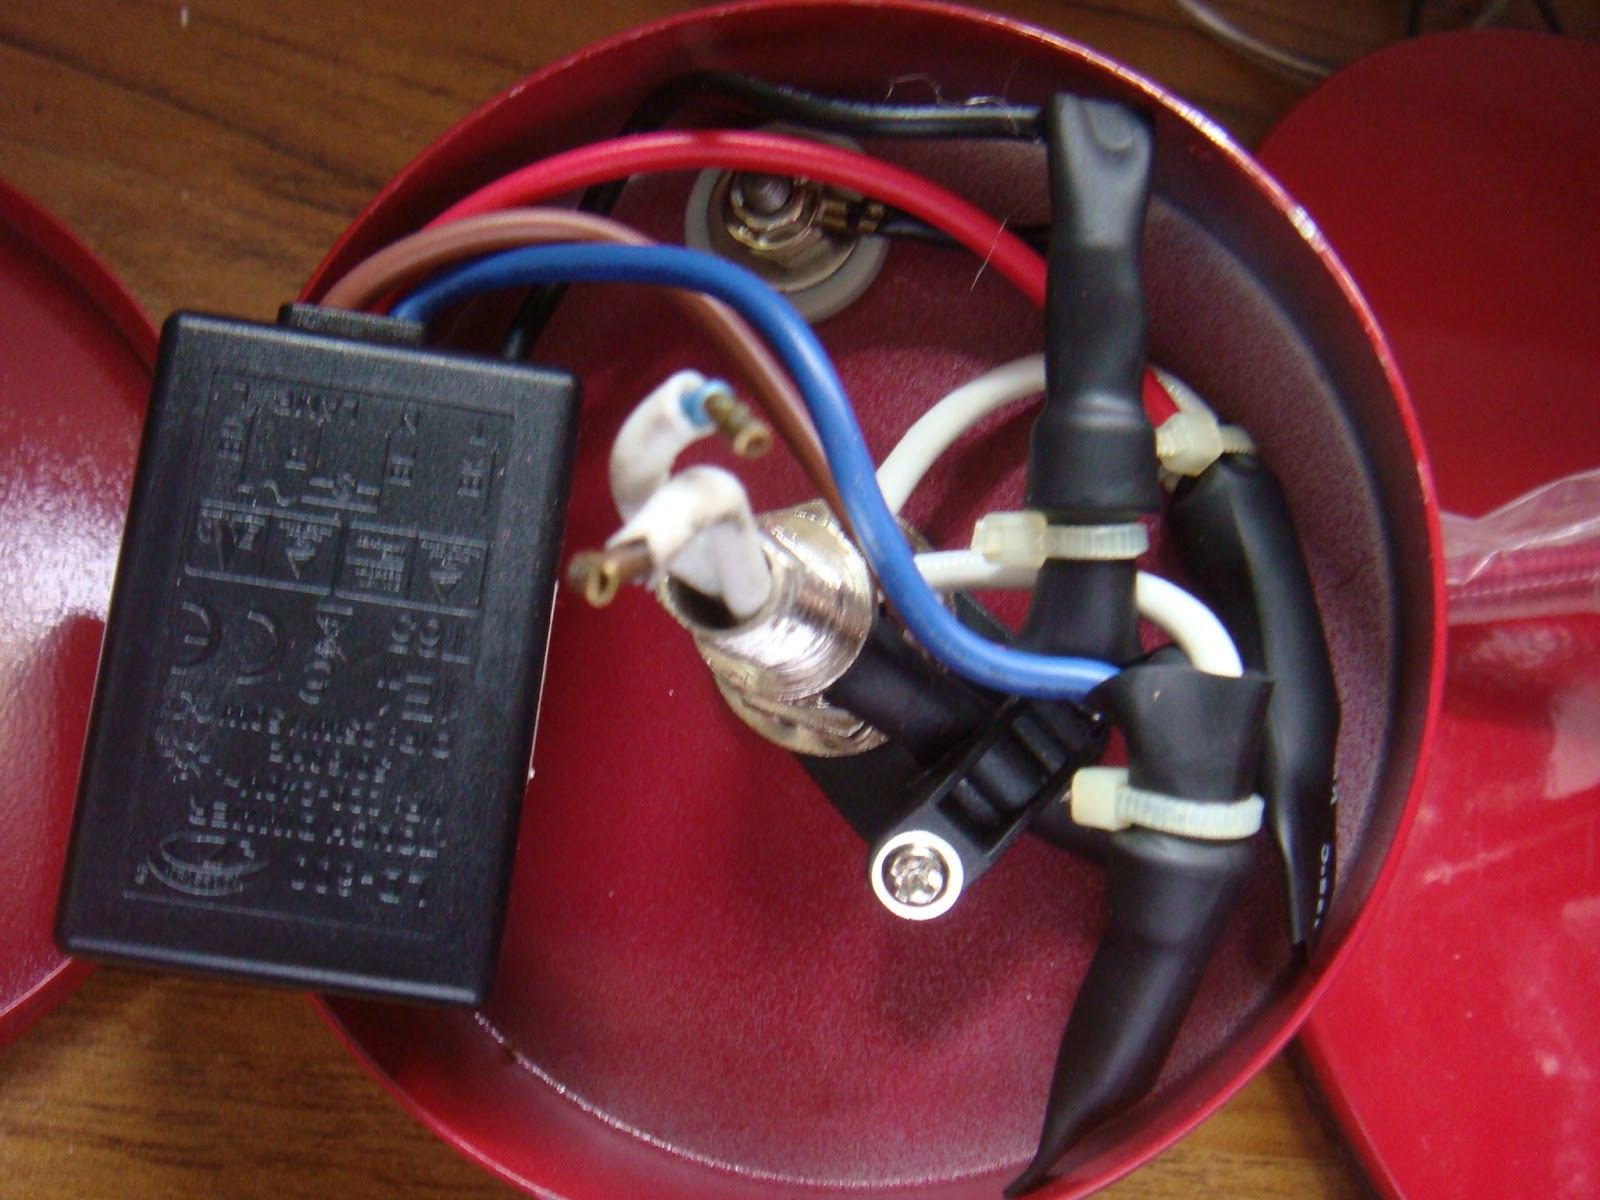
Here is how it looks inside. The black box on the left is the sensor
electronics. Do note the wiring set up. There are 2 wires that goes
into the box but 3 comes out.


Another view.


Disconnect the sensor but leave the sensor stick as it is.


Next I am going to disconnect the black box.


 Done!


We only require the Red(Live) and Blue(Neutral). Which means 
I have to remove the other red wire.


 This red wire was the additional one that came out from the 
black box. 


Next, I removed the extra blue wire. 


Done. It is much neater now.


I used the brown connector to merge 2 wires together. 
Its quite a good device. 


 Another view.


Lets put it back together. Compartment cover  -> bell shape socket holder ->
 washer with the hexagon nut.


The bulb socket is screwed on next. Take note that I have used a
different socket this time as the original is damaged.


With the Live and Neutral orientation, I connected it 
to the bulb holder. This takes some careful effort. Once 
the wire is in and secure, you can do a test.


Another view.


 The new replaced clip-on socket.


Another view. 


The original plan was to use dimmer switch. I have used 
this for my black floor lamp Kulla. 


This is my Kulla black floor lamp. You can see the dimmer switch. I replaced 
the original sensor with this dimmer switch. I have used this for over a year. But 
when I dismantled it for this project, I could not get it to work. 
It shorted itself!!


The burnt marks.


I decided not to use this dimmer switch. 


Instead, I will use this!!!!


 Its the Ikea Dimma cord switch. Its quite an ingenious device. It converts 
your light into a dimmer lamp.


It only accommodates a 2-pin plug. From the lamp, it goes into 
that socket. After which it is connected to the wall plug. The dimmer
switch is on the right of the picture.


All connected, and.....


TAAA-DAAAAAA!!!


How can one throw such a nice lamp, despite its 
shortcomings.

I dismantled my Kulla black floor lamp for this project. Reason was because I forgot how to dismantle the lamp housing for the Kulla red table lamp. In the process, I had shorted the dimmer switch which I mentioned above. I am going to replace that with the Ikea Dimma Switch. 


The cable compartment for the Kulla black floor lamp. I had removed
the white dimmer switch. You can see the hole where the sensor switch 
was originally located.


I removed the unnecessary wires.


Putting in the compartment cover.


The socket holder goes in next.


I put back the original sensor switch. Thankfully I still have the 
switch.


The bottom half bulb socket goes in.


The wires are connected to the top half of the bulb socket and 
clipped in.


Connect to the Ikea Dimma Switch.


Dimma switch on the sofa.


 TAAAA-DAAAAA


Next, pictures of the 2 different bulb sockets.


The one on the left is from the Kulla red table lamp. The 2-halfs are screwed
on to each other. It is badly chipped because I used a pair of pliers to unscrew it.
The one on the right is clipped on.


A view of the inside.


This is the view of the clip-on bulb socket. the Red and Blue wires 
goes into the 4 small holes on the right.


 Another view of the socket.


Initially, this project was quite daunting. It was made worst when I had forgotten the steps on dismantling the lamp. I had to revert to my Kulla floor lamp and even then, I shorted the dimmer switch.

Overall, it was a good experience. Once I found the steps, it was easier after that. I hope you would find the information useful as well.