Friday, 19 July 2013

Kartell Optic Container

The wife and I bought 2 pieces of Kartell Optic Container, with and without door at Space Furniture. One was in grey and the other one in crystal. We wanted it to be a side table to our L-shape sofa so that we can place our Kartell Bourgie lamp.

We like the texture of the container. At certain angle, it has a rippling effect and this is emphasize under direct light. It comes in a variety of colours.

Designed by Patrick Jouin. According to Kartell LA:
After earning his BA in 1986, Patrick Jouin studied design at ENSCI of Paris, where he graduated in 1992. He began working for Thomson Multimedia, before joining the agency Philippe Starck a year later.

In 1998, he founded his own agency in which he carries out projects to design objects, interior architecture and design. It creates objects and furniture that are published by Ligne Roset, Cassina, Fermob, Alessi and Kartell. The agency also carries a prototype high-end vehicle for Renault.

In 1999, he met Alain Ducasse with whom he collaborated and directed the design of several restaurants in the world, including the Plaza Athenee, the Spoon Byblos, The Mix (New York, Las Vegas [1]) and was given the decoration of the Jules Verne [2] the second floor of the Eiffel Tower.

Other Kartell products designed by him is the Thalya chair.


The grey container without door.


Compared to the Optic container in crystal.


The one in crystal comes with a door.


The one in grey does not comes with a door.


The Kartell Optic Container has legs for it to be
stackable.


With the door opened.


You can see the legs for it to be stackable and the hinge for the 
door.


Another view of the door closed. It is held closed by the clip in the
photo above.


This is our 2nd Kartell Bourgie Lamp.


Another view.


Sunday, 14 July 2013

Moving The TV Console: A project

The TV console in our room is located on the right hand side of the living room. The L-shaped sofa is located on the left. The Wife had wanted to swap the location of these 2 for the longest time. I was reluctant to do it because it is not easy to locate a contractor to do this. There is nothing in it for them to do such a 'corrective' maintenance. I asked my previous designer and he advised that it is a simple job, which I can do. I must admit that even though I am keen at doing-it-yourself around the flat but the TV console consists of electrical cabling of which I am not ready to tackle. At the same time, I cannot remember if the console is attached to the wall.

Eventually, I came across a neighbour of mine who does this type of project.. He is the owner of Mr. Fixit Singapore. I told him my problem, he dropped by to take a look and agreed to it.

Here are the photos. 

The tv console, on the right of the living room. All items
removed.


The L-shape sofa, on the left of the living room.


There is a recessed wall that we want to make use by 
placing the TV console in here.


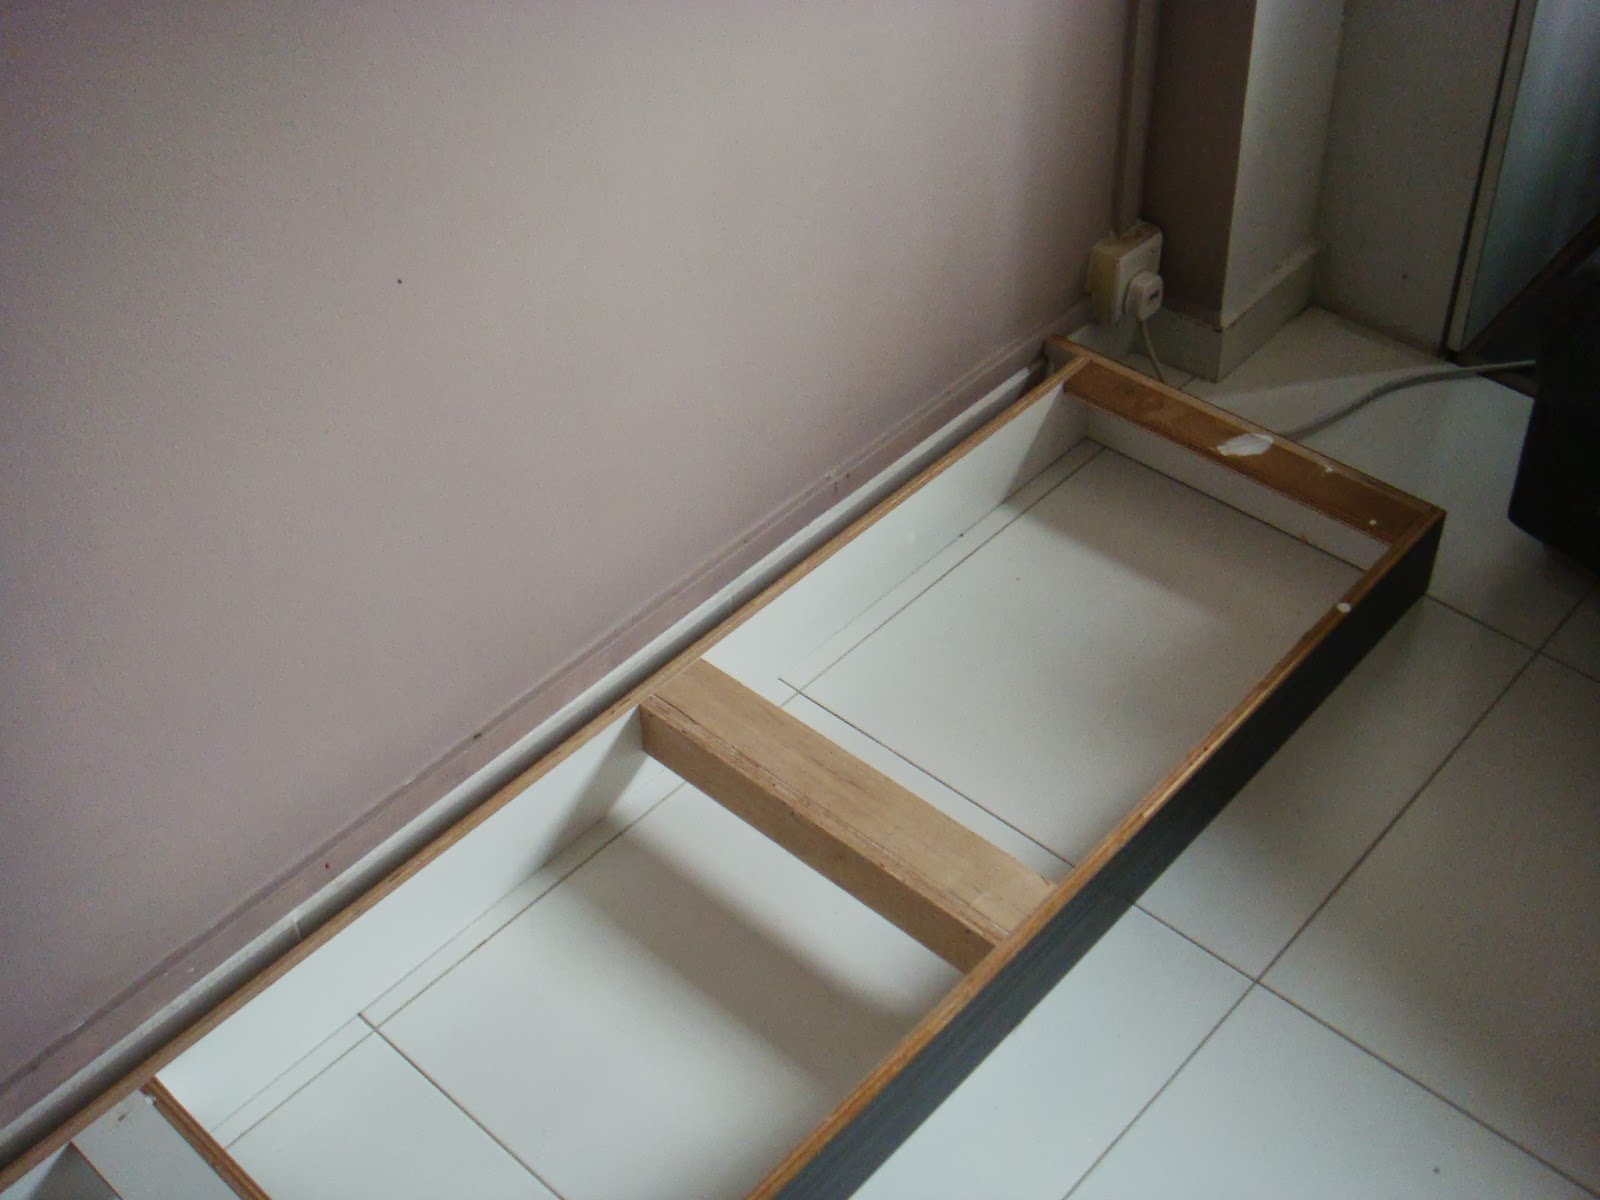
Apparently, the TV console consists of 2 parts, the base and 
the console itself. This is the base at its new location.


It fits nicely within the recessed wall.


And in between the existing 2 power points.


The TV console, after it is taken off. The hole at the back 
of the console was the location of the 4 power socket. You
can see the various casing at console countertop.


Rerouting the electrical wire, after the TV console has been 
removed.


This is the internet cable that goes through the party wall to the 
study next door. Thank goodness the previous owner did this 
hole.


The trunking is for electrical wires and internel cable. The TV 
point on the right is redundant. The fibrenet is on the left. 


The stains from the TV console location can be seen as well as 
the wall studs.


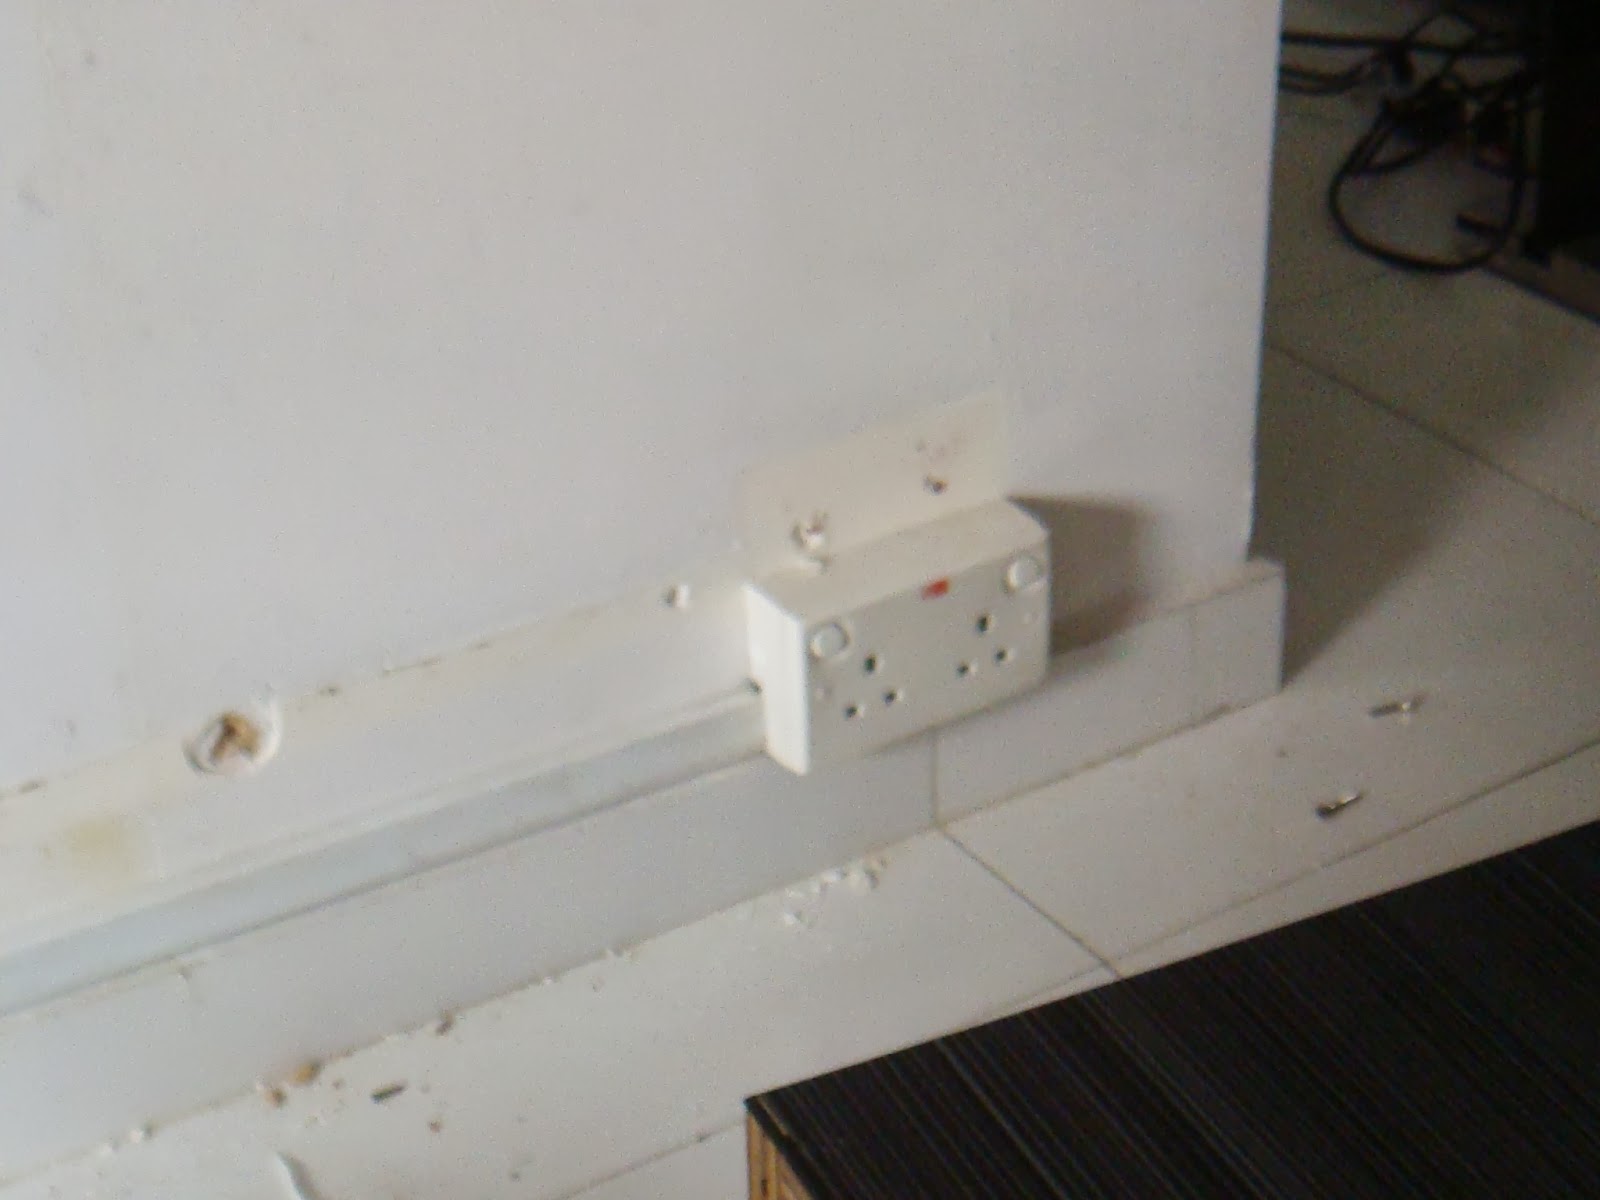
The right hand electrical power point, all done up.


Fixing up the power socket.


Electrical socket almost ready.


All done up. The wall studs are removed. All holes are patched up.
Just a coat of paint. The black cable is for the cable tv. It is routed
directly to the TV, which is now located on the opposite wall.


The black tv cable goes through the false flooring.


When I raised my balcony flooring by putting in the false
flooring, I made allowance for cables and wires to run through 
its side. You can see the cable coming out on the top left hand 
corner of this picture


Out it goes to the back of the TV console. 


The new location of the TV console. All fixed up.


The black TV cable can be seen. The original length was too short
but the boys from Mr. Fixit had a much longer spare.


After a nice coat of paint. All markings and stains gone.


Another view.


The new location of the sofa. 


The new location of the TV console. All done up.


Thank goodness for Mr. Fixit for a job well done. Their rates are quite reasonable. Overall, I would recommend them for any jobs you might have. I would definitely engage them again.

Sunday, 16 June 2013

Brother Label Maker PT-D200

It is quite common for me to participate in proposals submission in the course of my work, in the form of a Request for Information(RFI) and Request for Proposal(RFP). The format of my submission would typically be in a large folder with multiple dividers. On the tabs of these dividers, I would label the content of the various sections. I would typically use a label maker and paste it on these dividers. Unfortunately, in my current office, there is no such device. There is hardly any stationery in fact.

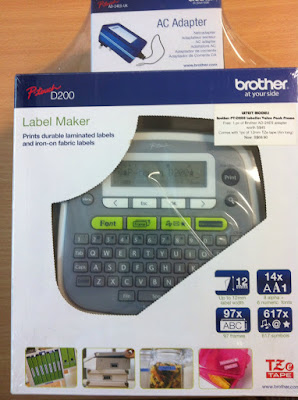
So I went to the nearest stationery shop downstairs and bought a label maker. I wanted to buy the Epson label maker but at that time, the shop was storing away the Epson products. Instead, I bought the Brother Label Maker PT-D200. It costs SGD69.00 and comes with a AC power adapter. It can also work with batteries.

The outer box.


It can work on both AC Adapter and batteries. I prefer
the AC Adapter.


It uses this TZe tape. I think its slightly more expensive 
than their TZ tape.


The P-touch labels are quite durable.


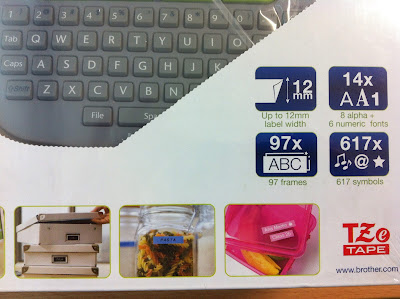
At the back of the box.


The contents


A complimentary label tape is provided but it is very short.


There are varieties of fonts and symbols.


Top view.


Bottom view.


Press the grey part at the bottom of the device, the bottom cover 
would come off.


The view without the grey bottom cover.


The tape is placed.


Cover is put back.


Samples of the print out.


One thing that is quite annoying is the space between the words on the same tape. For example, if you take a look at the picture above for the word Router, you will notice the gap between the words is quite large. This is wasted tape. There must be a way to reduce the gap.